
Starting Your Garden Transplants at Home
University of Arizona Greenlee County Cooperative Extension
While many garden crops are best started when seed can be planted directly in the soil, others are better set out as plants. There are many places to purchase nice tomato and pepper plants, but you may prefer to start your own indoors. It’s actually very easy and the benefits are many. To begin with, you may want a certain variety that is not available at the nursery. Starting plants from seed has advantages; when planting a large garden it may be more economical to start your own. And starting from seed reduces the likelihood that you may bring diseased plants into the garden.
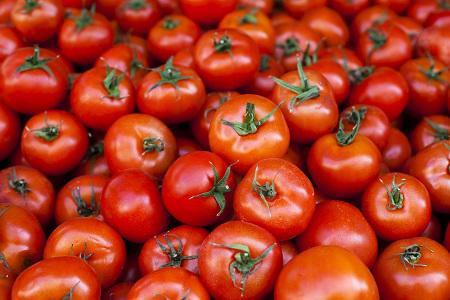
To start, get quality seed from a reliable source. Select a variety that suits your intended purpose. For example, an indeterminate tomato will produce a moderate, continuing supply over the season; this is perfect for fresh eating. While a determinate tomato will produce an abundant supply all at once, making it the ideal choice for canning.
Just about anything will work as a container. Make sure it has enough holes in the bottom to drain well and holds enough planting medium to sustain the plant until planting time.
Your planting medium (potting soil) can be mixed at home or purchased “ready to use”. The important thing is that it be “loose” enough to drain well, while at the same time, firm enough to absorb and retain moisture. This excludes the use of soil directly from the garden, which is too heavy. When making your own soil or re-using old potting soil, it is good to sterilize it in an oven at 180⁰ F. for at least half an hour. This will prevent “damping off”, which is common in homemade soils.
All seeds have a preferred planting depth and optimum soil temperature for germination. This information can be found on the seed pack, online, at the library or by calling your local extension office.
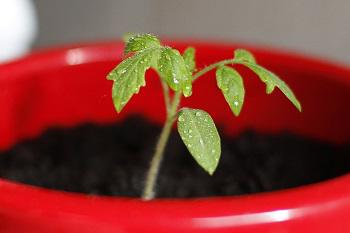
To get the process underway, fill your containers with soil, water heavily and allow to drain well. Next, plant 2 or 3 seeds into each pot and place the pot in a suitably warm location. At this point I like to cover the containers with plastic to hold moisture in until germination. Once seeds sprout, uncover them and place pot in an area with adequate light, such as a sunny window or under grow lights. Water only as needed, too much water is as bad as not enough. When plants get about 4 leaves, thin to strongest plant by clipping off the weaker ones. Avoid pulling out extras as this may cause root damage to the plant you are keeping. If needed rotate plants regularly to keep them from growing towards light source.
When warm weather arrives check for appropriate garden soil temperature before transplanting, this will further insure transplanting success. Often times transplant shock results from setting plants out into overly cool or dry soil.
The next step in transplanting starts is “hardening off”. You will want to set them in some sort of intermediate climate, somewhere between the comfort zone indoors and the weather realities of the garden spot. Over the course of 4 or 5 days, gradually move them further out into the weather. They will then be prepared to go out to the garden.
For more specific information on this or any horticultural subject, you can contact the Greenlee County Cooperative Extension office at 359-2261 or email Bill Cook at wrc@email.arizona.edu